made by Rachel Do you ever make a huge batch of meatballs and have them waiting for a recipe in your freezer? Well, I feel like I always have meatballs in my freezer, so I made this lasagna recipe up to use some. You could sub meatballs for plain old cooked ground beef, but I think this bulks up the flavor and consistency of a meat lasagna - try it out and let me know what you think!
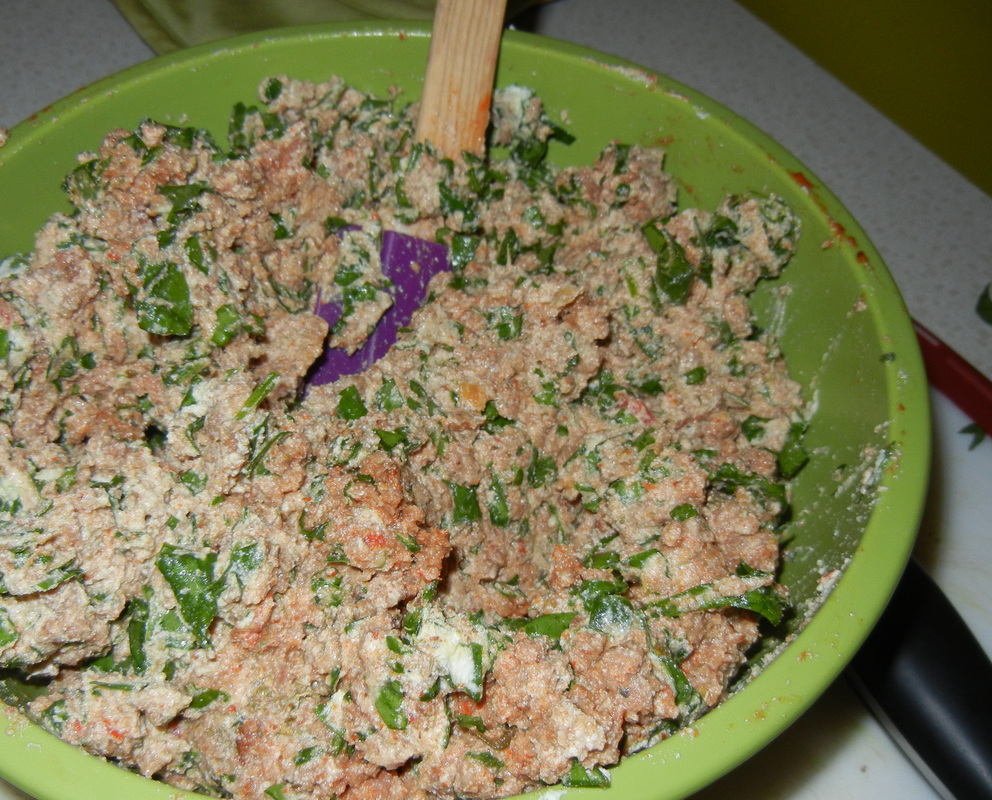
What you will need: 5 oz fresh spinach, chopped 16 oz ricotta 8-10 meatballs, chopped up or smashed with a potato masher 1 Tbsp Italian seasoning Marinara or meat sauce - 1 cup for filling, approx 4 cups sauce for assembly 1 egg 1 box lasagna noodles (if you want you can make your own!) Fresh or shredded mozzarella (I use both, shredded for the layers and fresh on top. You will need about one bag of shredded, or one square hand shredded, and one baseball size ball of fresh) Fresh or dried basil (for sprinkling on top) Fresh or dried oregano (for sprinkling on top) S&P Directions: Start a large pot of water boiling. Add about a tablespoon of salt and a splash of olive oil. In a bowl, combine spinach, ricotta, meatballs, Italian seasoning, 1 cup of the sauce and egg. Mix well so the eggs are spread evenly throughout the mixture. Season with salt and pepper and set aside. Add your noodles to the boiling water and cook for 8-10 minutes - you want the noodles al dente so your lasagna is not mushy. After 8 minutes take a noodle out and test it...it should be firm but not hard. Pour your noodles over a colander to strain the water.
Pre-heat your oven to 350F.
Now assemble your lasagna:
Spread a 1/2 cup of your sauce in the bottom of a 9x13 casserole dish. Layer three noodles across horizontally. Depending on your dish, you might need to cut an extra noodle for the side so the dish is covered in a single layer of noodles.
Spread a thin layer of your spinach/meatball/ricotta mixture across the noodles, use a spatula or your fingers to spread the filling out evenly. Sprinkle a thin layer of shredded mozzarella on top of the filling (meat/spinach/ricotta).
Drizzle a layer of sauce on top of the cheese, using a spatula to spread, if needed.
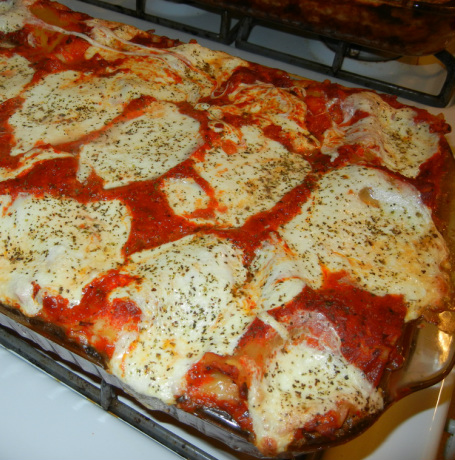
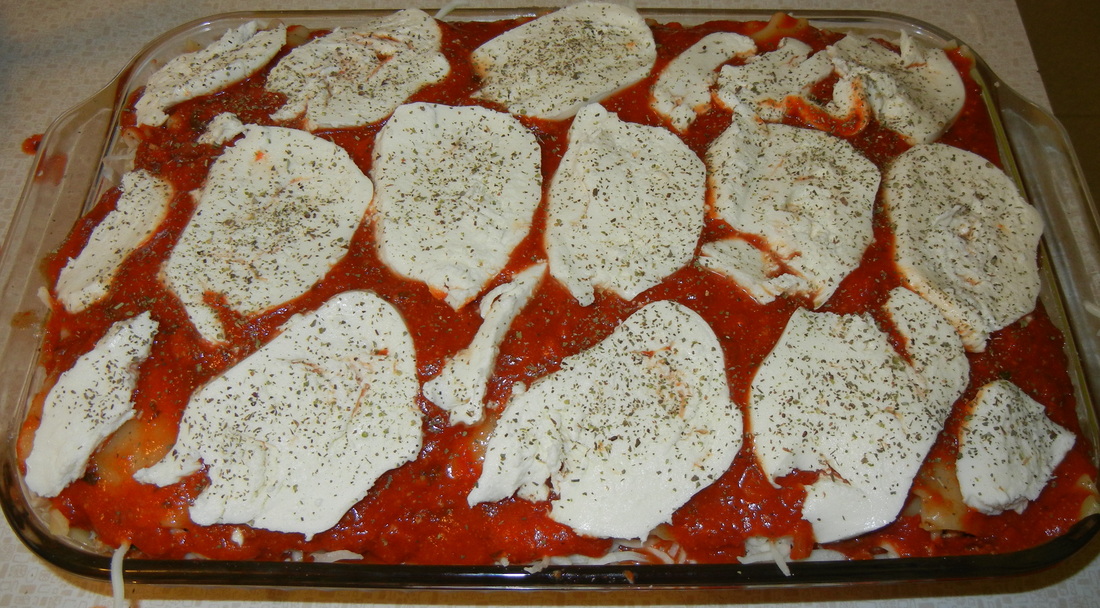
Layer another 3-4 noodles, filling, cheese, and sauce, and another one....until you run out of room in the dish. The top layer should be noodle, then sauce, then fresh mozzarella. Sprinkle the top with basil, oregano and pepper.
Bake at 350F for an hour, or until the cheese on top is starting to bubble and turn golden.
Enjoy!
made by Emily I've made Julia Child's Beef Bourguignon recipe a few times and wanted to experiment with another recipe (which evolved originally from Epicurious) since I had short ribs in the freezer. Also, Julia's recipe has a lot of steps and I didn't want to be in the kitchen all day...but I found out, to my misfortune, that this recipe takes a while too. I think that's just the deal with fall-off-the-bone meats (I would start it by noon if you want to eat around 6). The prep doesn't take that long but it cooks about 5 hours and then you have to make the gravy. Although a bit cumbersome, it's worth it because it is really, really SO tasty. It's like a fancy comfort food beef stew where the meat falls apart and the broth is delicious. I asked my husband how he liked it after a few bites and he replied, "this is my favorite kind of food". I'm not a big stew person but this recipe won me over.... I almost hid the leftovers so he wouldn't take them to work.
Makes 3-4 servings (for us it was 3 because I guess we eat a lot?)
You'll need for the short ribs:
2 lbs short ribs w/o bone, or 4 pieces bone-in beef short ribs
1 Tbs vegetable oil
Sea salt
Black pepper
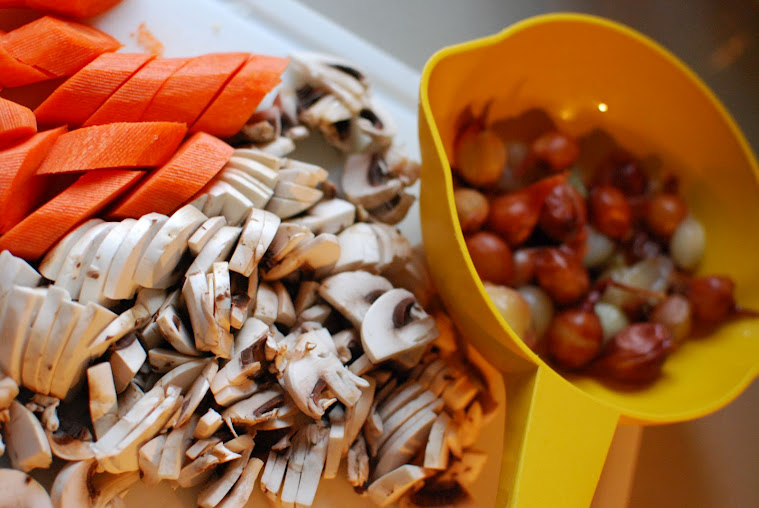
3 big carrots, chopped
1 medium onion, chopped
2 garlic cloves, finely chopped or pressed
1 14oz can whole tomatoes in juice, pureed in a blender with juice (you'll only end up using 1/2 the amount)
1 1/2 cups dry red wine
4 cups beef stock
2 sprigs fresh thyme (don't remove leaves, just use the whole sprig)
1 bay leaf
1 Tbs red-wine vinegar
1 Tbs balsamic vinegar
For the vegetables:
20 pearl onions (approx 5 oz) - you can use fresh or frozen. Frozen is easier b/c the skin is off. Fresh tastes better but you have to get the skin off which is a P.I.T.A.
2 Tbs butter
1 Tbs red-wine vinegar
2 cups chicken stock
2 big carrots, cut diagonal into extra large bite-sized pieces
4-6 bacon slices (smoked bacon or applewood-smoked is great), cut into 1inch chunks
8oz pkg fresh white mushrooms (about 10 mushrooms), stems trimmed and diced
To Make:
Braise the short ribs:
Put oven rack in lower third of oven and preheat oven to 250°F.
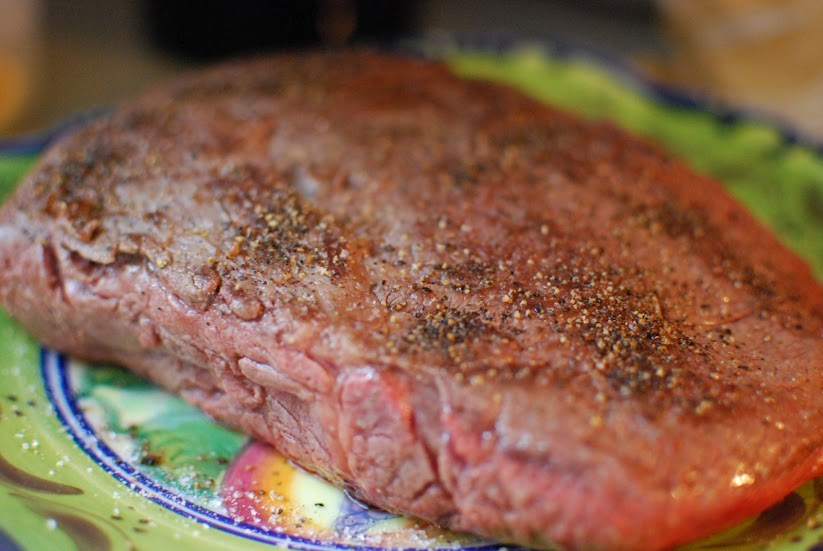
Pat beef dry. Heat oil in a wide heavy pot over moderately high heat until hot but not smoking, then brown beef on all sides, turning with tongs, about 8 minutes. Transfer to a plate and sprinkle with sea salt and pepper.
Add chopped carrots, onion, and garlic to oil in pot and cook over moderate heat, uncovered, stirring occasionally, until softened, about 5 minutes. Stir in 1 cup puréed tomatoes (reserve remainder for something else, no more needed for this recipe) and bring to a boil over moderately high heat. Add wine and boil, stirring occasionally, until sauce is thickened, about 8 minutes.
Add beef stock, thyme sprigs, bay leaf, vinegars, and sea salt and pepper to sauce (don't be shy with the S & P!), and bring to a simmer. Skim fat from surface if needed (I didn't), then add beef along with any juices accumulated on plate and cover pot with a tight-fitting lid. Transfer to oven and braise until beef is very tender, about 5 hours (the longer the more tender). Cook vegetables while beef braises:
De-skin the pearl onions but try to keep them "whole" or intact as best as you can (luckily you skip this step if you are using frozen ones).
Heat butter in dried saucepan over moderate heat and then cook onions, stirring occasionally, until brown spots appear, 3 to 5 minutes. Stir in vinegar, then add chicken stock and carrots and bring to a boil. Reduce heat and simmer, uncovered, until vegetables are tender, 20 to 25 minutes. You want the liquid to reduce by about half. You can cover, if necessary. It should look like the liquid glazes the veggies.
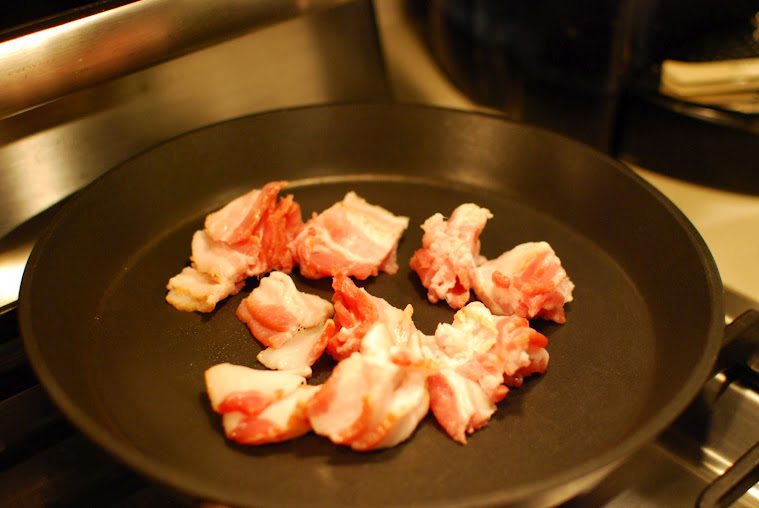
While vegetables are simmering, cook bacon in a 10-inch heavy skillet over moderate heat, stirring occasionally, until almost well done looking. Add mushrooms and cook, stirring, until mushrooms are tender and bacon is browned and crisp, about 4 minutes. Transfer with a slotted spoon to vegetables in saucepan so you don't get the remaining grease. Finishing touches:
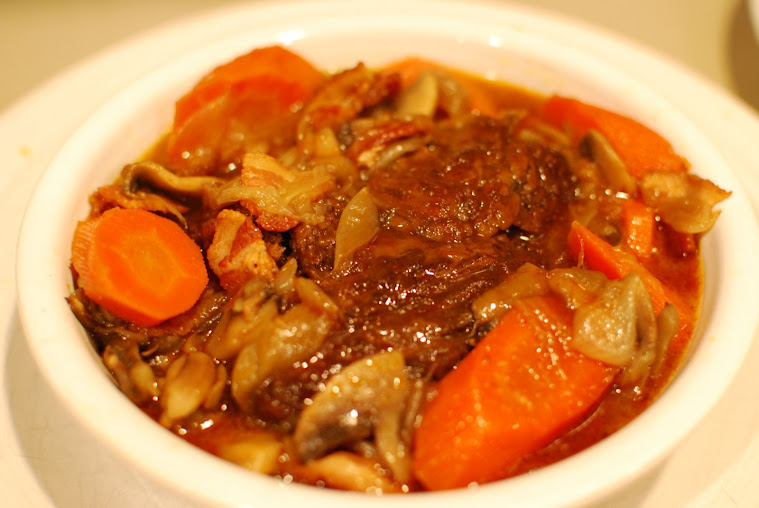
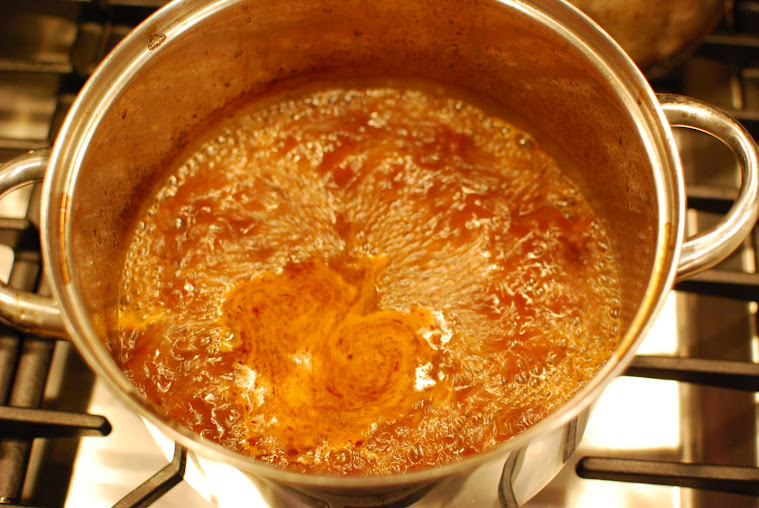
Transfer a short rib to each of 4 soup plates and keep warm in oven. Pour sauce through a colander into a large bowl, discarding solids (or you can save for another use later b/c I feel like it's a little wasteful). Skim fat from top if you see a lot accumulated. Boil sauce until thickened and reduced to about 3 cups. Add about 2 cups sauce to vegetables (reserve remaining sauce for another use), then spoon mixture around each bowl of your short ribs. Taste to check if you need to add a little more salt & pepper.
Enjoy! We made salad to go on the side of this dish, but you can do egg noodles too or a crusty french loaf to soak up the broth would be good too.
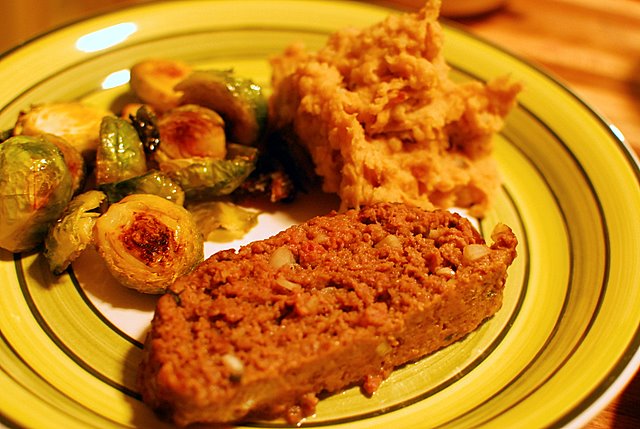
By Miranda However, I do like it now, and even more so with a little gravy on top! This makes a flavorful meatloaf that is (for lack of a better word) moist! :) My meatloaf: 1 lb ground beef 1 egg 1/3 cup bread crumbs 2 Tbsp ketchup (couple squirts) 1 Tbsp water 1 tsp worsheshire sauce 1/2 tsp salt ground pepper to taste 1/3 cup onion, diced small 1/3 cup ground or shredded parmesean cheese 1/4 cup milk 1 garlic clove, minced fresh parsley (1/2 tsp dried or a Tbsp chopped fresh) Pre-heat your oven to 450F. Mix all the ingredients together and form into a loaf. Place the loaf in a roasting or baking pan and bake at 450F for 15 minutes, then 350F for about 35 minutes. If you have enough juices in your pan after baking, you can make a gravy. In order to do this, remove the meatloaf from the pan. Sprinkle a Tbsp of flour over the pan juices along with a splash of milk or water. Whisk over medium-low heat until thickened and then season with s+p and parsley. *This meatloaf was served with Caramelized Onion Mashies and Roasted Brussel Sprouts
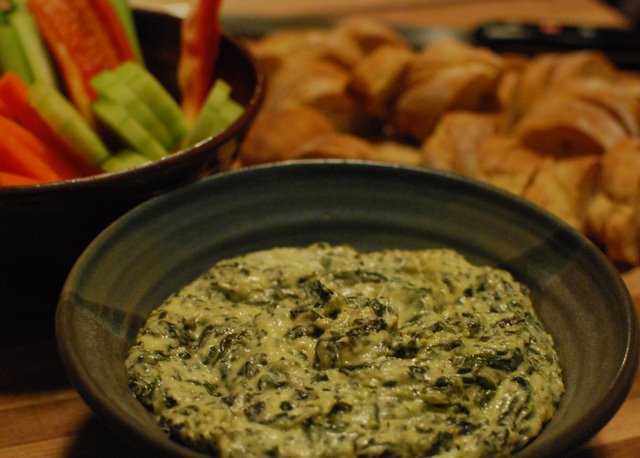
By Miranda This has become a favorite of mine to bring to parties or for when people come over. It's a great finger-food and I thought it would be good to post around the Superbowl! It can be made ahead of time and refrigerated until baking time.
You will need:
4 oz cream cheese, softened (1/2 block)
1/3 cup mayo (or just a hefty spoonful - or yogurt for a healthier option)
1 15 oz can of artichoke hearts
10 oz spinach, chopped (frozen should be thawed, fresh should be steamed; both should be squeezed so most of water is out)
1 cup shredded mozzarella cheese
1/2 cup parmesean cheese
1 garlic clove
Preheat oven to 400 degrees F. Puree artichoke hearts in a blender or food processor or just chop finely. Add garlic to this too or just mince it. Then add all ingredients together in a bowl and stir well until combined. Season to taste with s+p. Spread in an 8x8 baking pan or crock and bake for about 20-30 minutes or until starting to brown on top and its bubbling. Serve with baguette slices, pita chips or corn chips.
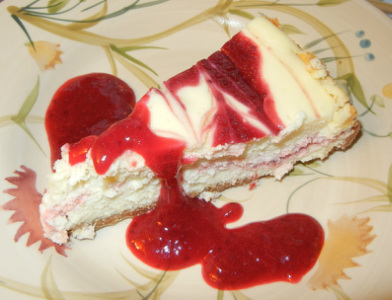
By Rachel I made this for Christmas at my in-laws this year and it was a big hit! I have heard multiple times that making cheesecake is really difficult, but this recipe from the Joy of Baking website was not hard, did not take that long and tasted FABULOUS! Try it, I dare you! Serves about 12-14 people
You will need:
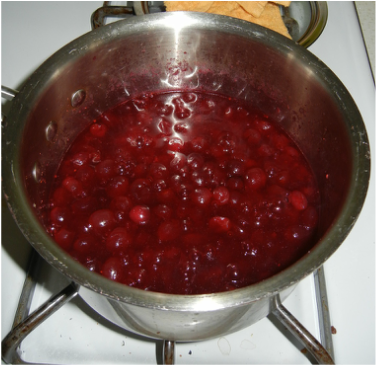
For the Cranberry Swirls (and sauce for serving):
1 - 12 ounce bag of fresh or frozen cranberries
1/2 cup sugar
2 cups water
zest of one lemon or orange
For the Crust:
2 cups of graham crackers, finely crushed (I used blender to crush them)
2 Tbs sugar
1/2 cup unsalted butter, melted
For the Cheesecake Filling:
3 - 8 ounces packages of cream cheese at room temperature
1 cup sugar
1 Tbs flour
4 eggs, room temperature
1 Tbs heavy cream
1 tsp vanilla
To make:
First make your cranberry sauce, you will use this for the swirls and the sauce to serve the cake with. In a medium sized saucepan, place cranberries, sugar, and water. Then, over medium-high heat, cook the ingredients until boiling, stirring to dissolve the sugar. Reduce the heat to medium low and gently boil the filling, stirring often to prevent the filling from burning, until it becomes thick and syrupy and reduced to about 2 cups. This takes about 20-30 minutes. Remove from heat, stir in the zest, and let cool completely before using. (I am not a fan of chunks in my cheesecake so I put this sauce into the blender after it cooled a bit and pureed it until it was smooth and delicious - I highly recommend doing this to get rid of any cranberry chunks). Set the sauce in the fridge while you work on everything else.
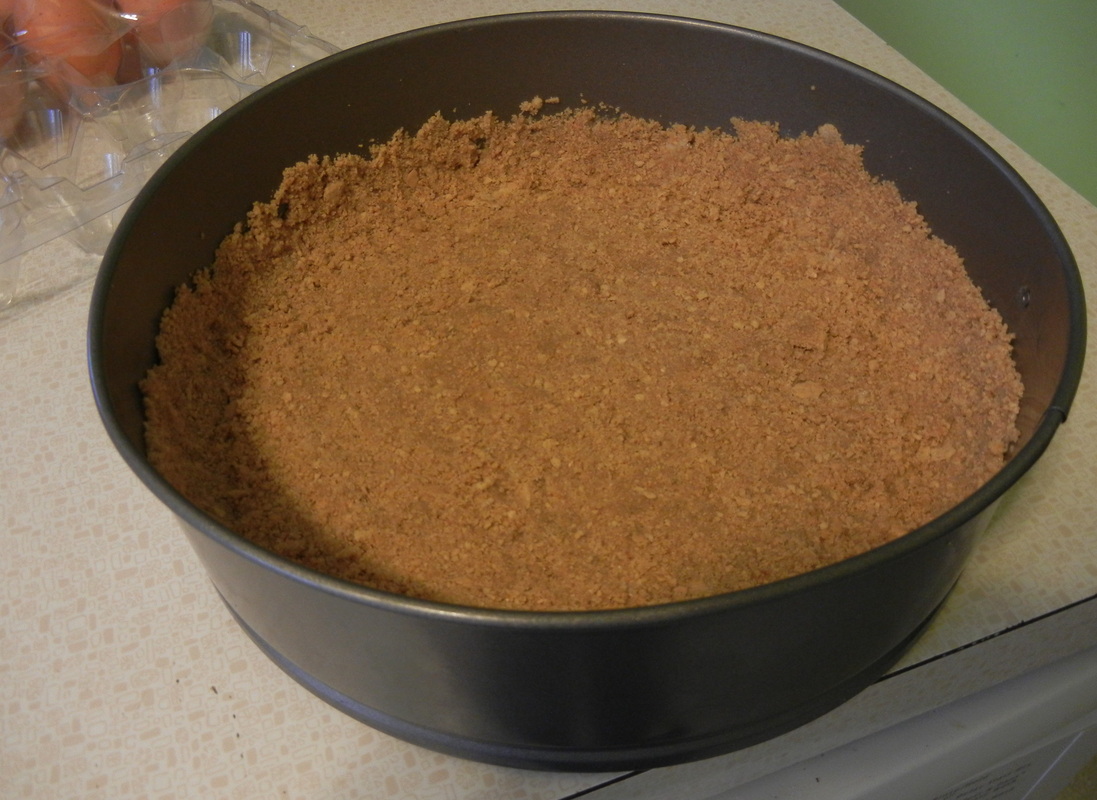
Now for the crust...grease a 9 inch round spring form pan and line the bottom with parchment (you don't HAVE to do this but it makes for easier clean up and serving!) Preheat oven to 350 degrees F and place the oven rack in the center of the oven.
In a medium sized bowl combine the graham cracker crumbs, sugar, and melted butter. Press the crumbs evenly over the bottom and about 1 inch up the sides of the springform pan. Cover and refrigerate while you make the filling.
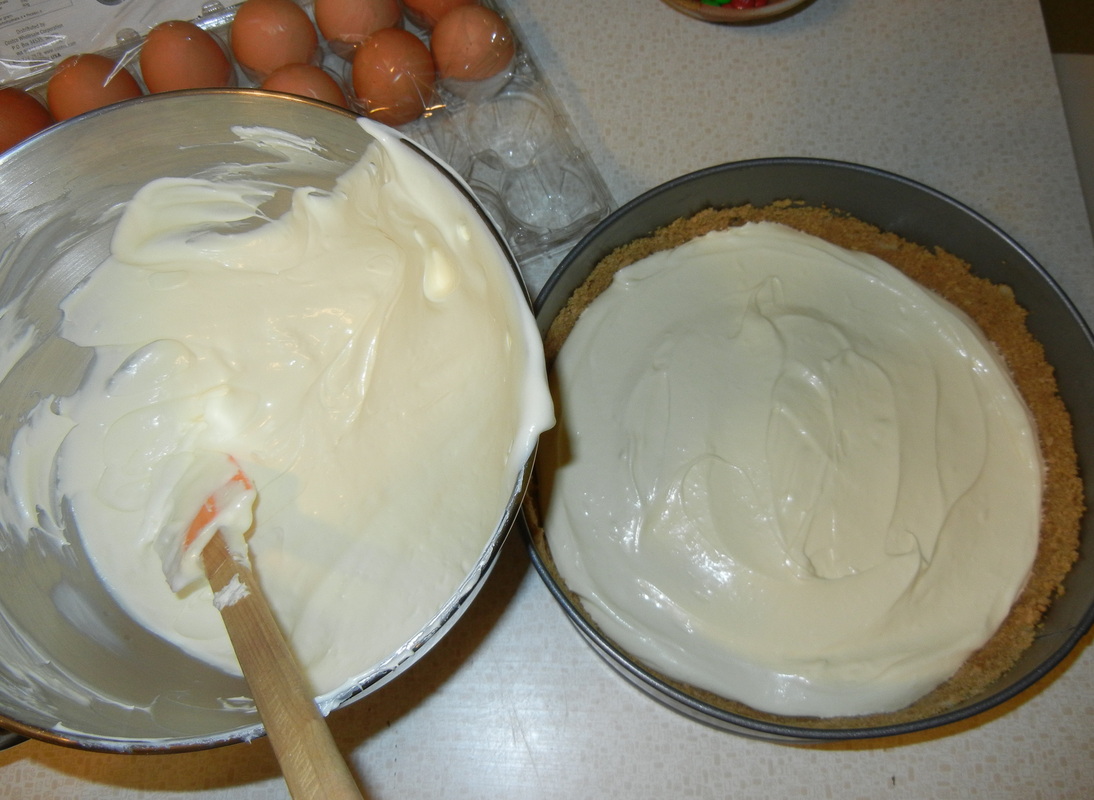
Now for the money maker...in the bowl of your electric mixer, beat the cream cheese, sugar, and flour. Beat on medium speed until smooth (about 2 minutes), scraping down the bowl as needed. Add the eggs, one at a time, beating well (about 30 seconds) after each addition. Scrape down the sides of the bowl. Add the cream and vanilla extract and beat until incorporated.
Remove the crust from the refrigerator and pour half the cheesecake filling into the pan.
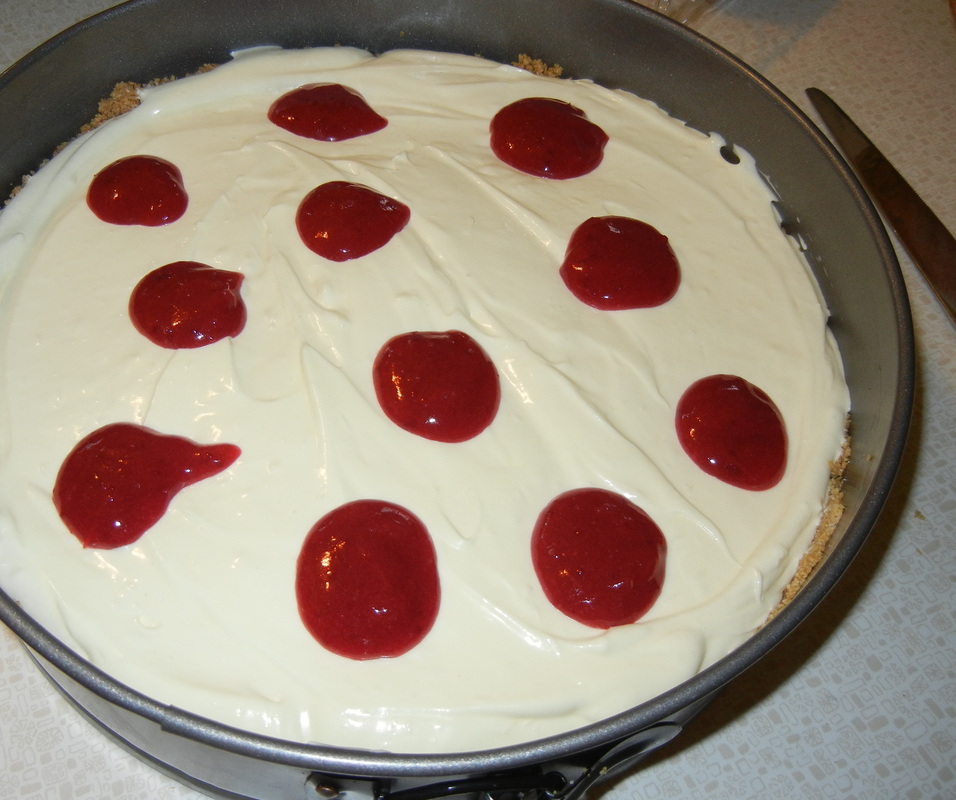
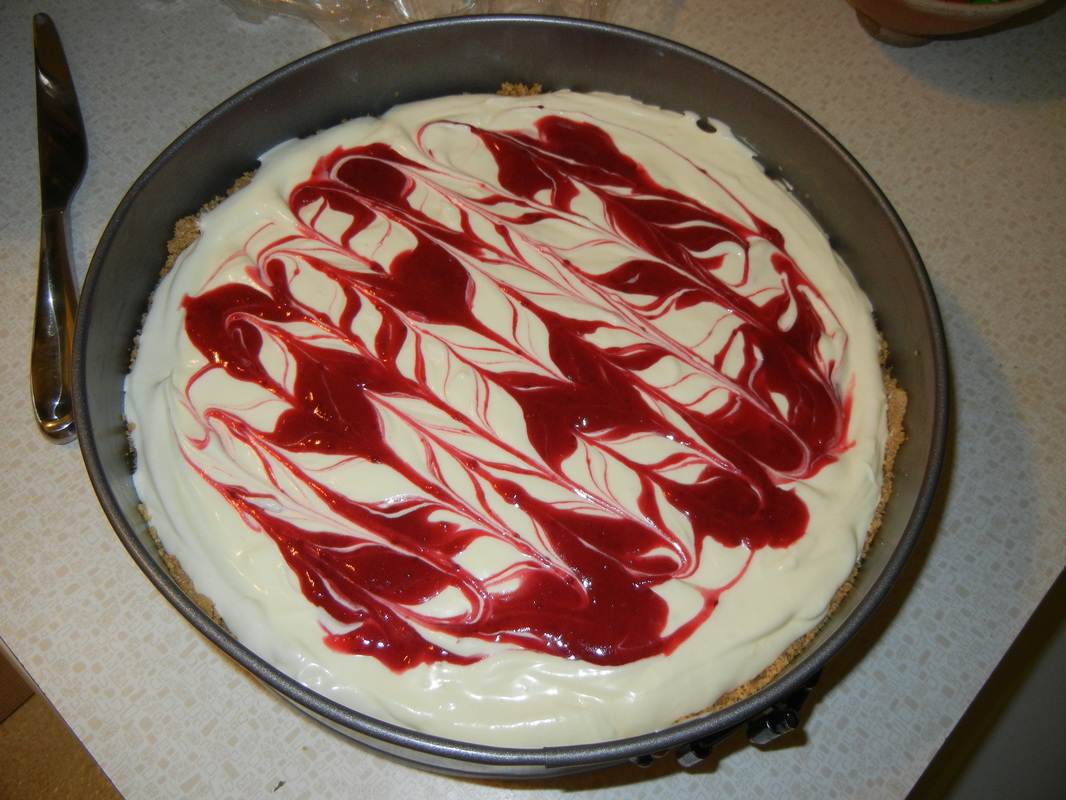
Take one-half cup of the cranberry sauce you made and place spoonfuls over the cheesecake batter and then swirl gently with a knife.
Top with the remaining cheesecake batter. Spoon another one-half cup of the cranberry filling over the cheesecake batter and swirl gently with a knife. (The extra cranberry sauce is saved to drizzle over the cake when serving). Depending on your pan, your cake make leak or drip, so either place it on a bed of foil or on a thin baking sheet and place in the oven.
Bake for 15 minutes and then lower the oven temperature to 250 degrees F and continue to bake for another 60 to 70 minutes or until firm and only the center of the cheesecake looks a little wet and wobbly. Remove from oven and carefully run a knife or spatula around the inside edge of pan to loosen the cheesecake (helps prevent the surface from cracking as it cools).
Let the cake cool before covering with plastic wrap and refrigerating. This cheesecake tastes best after being refrigerated at least eight hours or overnight. Now kick back, relax and bask in the benefits of your baking talents!
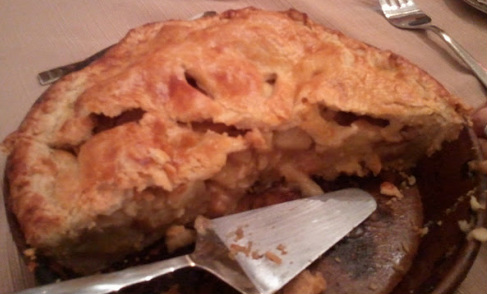
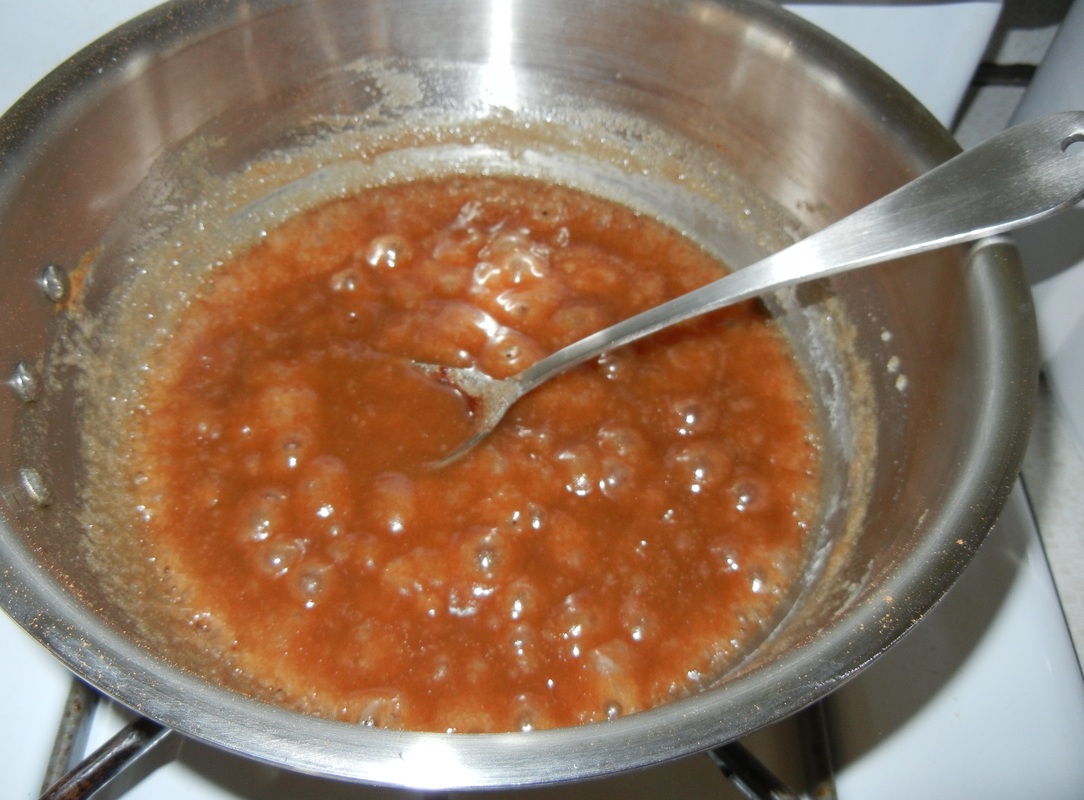
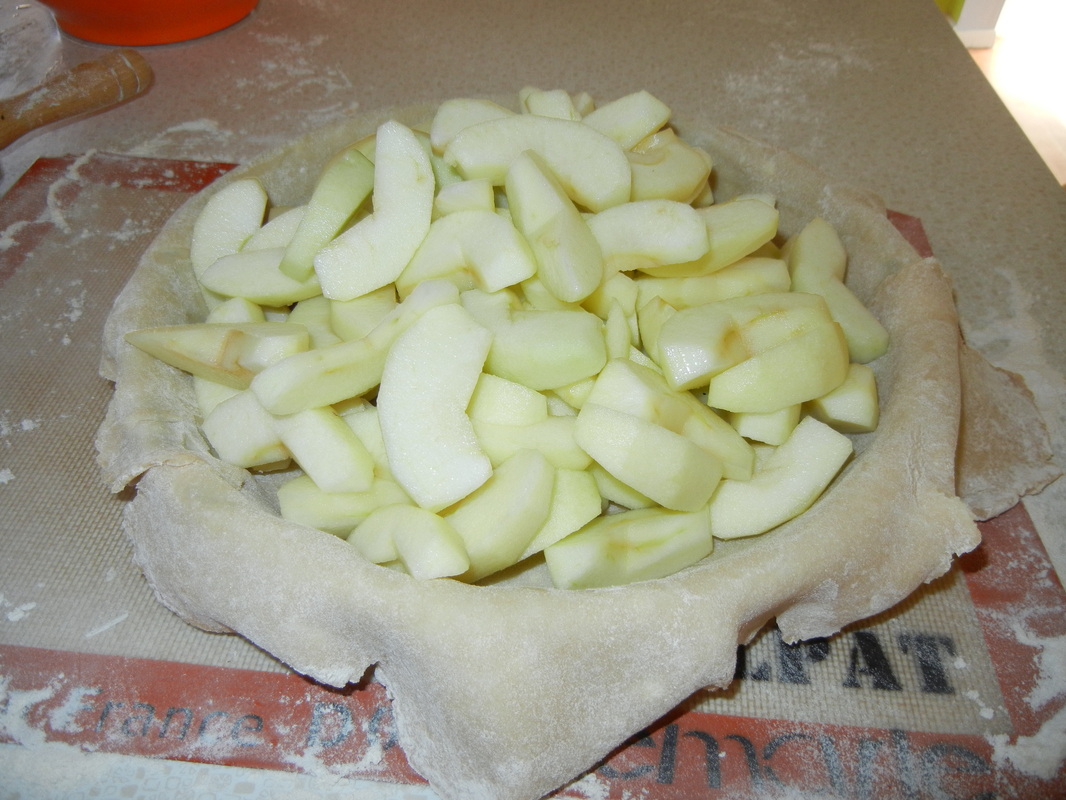
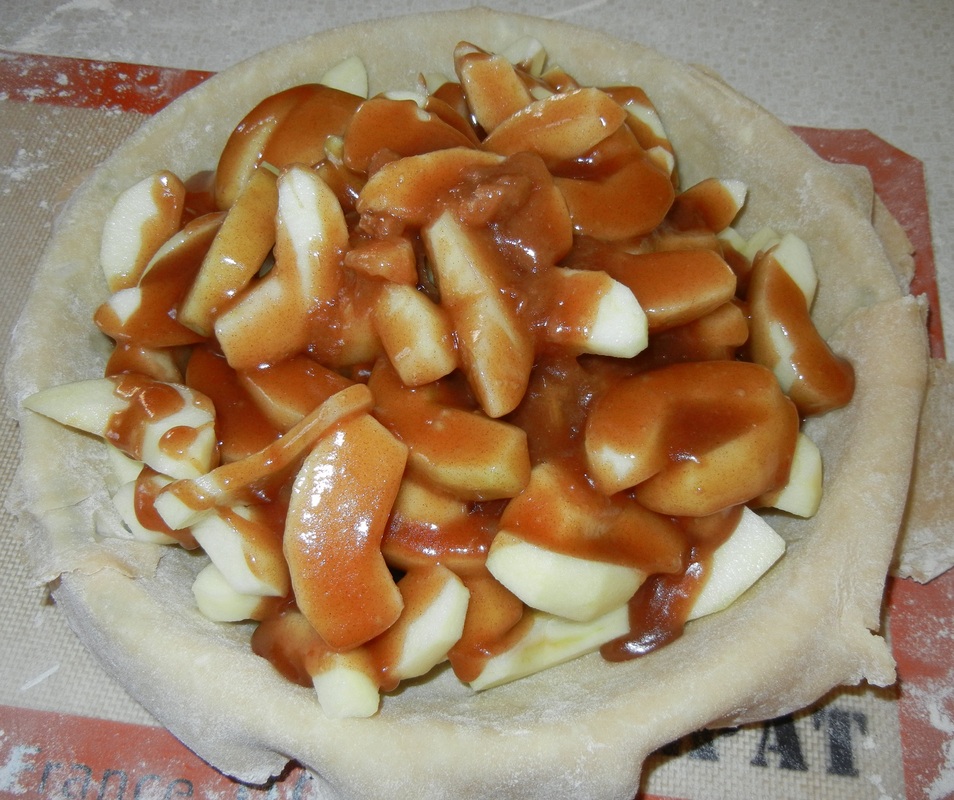
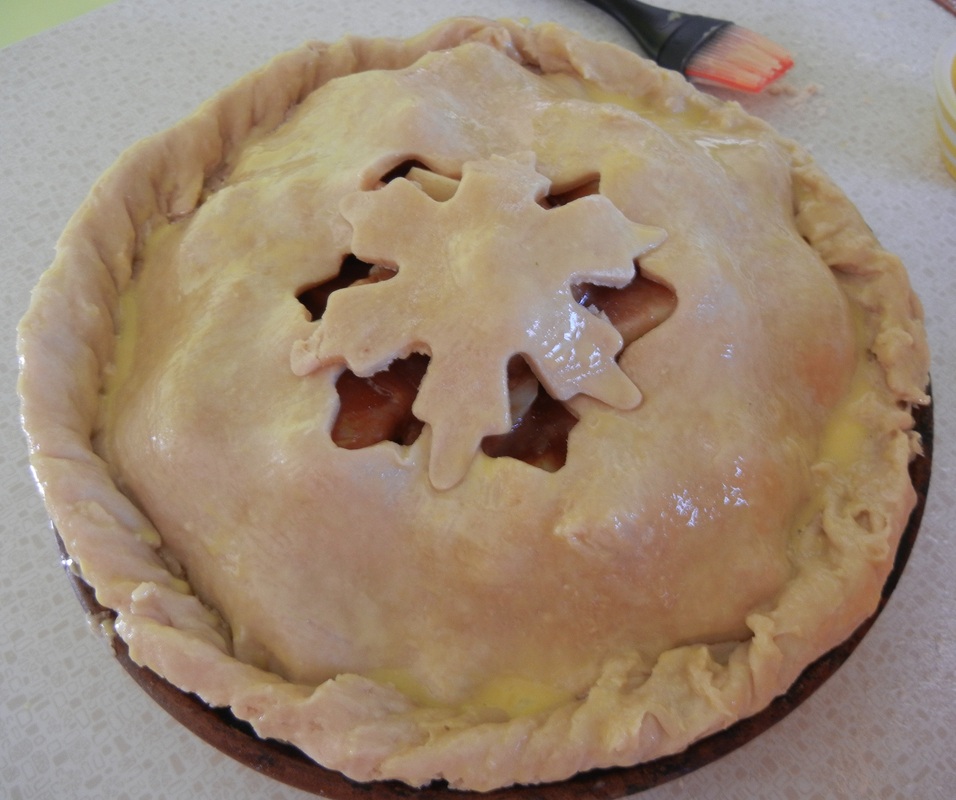
By Rachel This apple pie is a real crowd pleaser - it's super caramely and rich and is pretty awesome when made with my favorite pie crust! Once again, my pictures are never great - so just trust me on this one - it's DELICIOUS!! First things first - make your pie crust and chill it for at least 2 hours. What you will need for the filling: 1/2 cup unsalted butter 3 Tbs flour 1 Tbs cinnamon (I like a lot of cinnamon, you can add anywhere from 1 to 3 teaspoons) 1/2 cup white sugar 1/2 cup packed brown sugar 1/4 cup water 8 granny smith apples (or other baking apple varieties such as Roma or Cortland) 1 pie crust recipe1 egg yolk 1 Tbs of cream or 1/2 & 1/2 (for brushing on the crust) To make the filling: Peel and cut your apples into 1/2 inch slices. Melt butter in a medium sauce pan, stir in flour to form a paste. Add sugars and water and bring to a boil. Simmer for 5 minutes. Stir in cinnamon and remove from heat. Lightly grease or butter your pie pan. Roll out your first disc of dough and shape into your pie pan. Fill the dough with your apples, making a peak. Pour the filling liquid over the apples. Roll out your second disc of dough and place on top. Before placing on top you can use a cookie cutter to make a shape in the dough for decoration. If you do not do this you will need to cut slices in the top of the pie before baking for the steam to escape.
Mix the egg yolk with the Tbs of cream and brush over top of the pie (you will have extra).
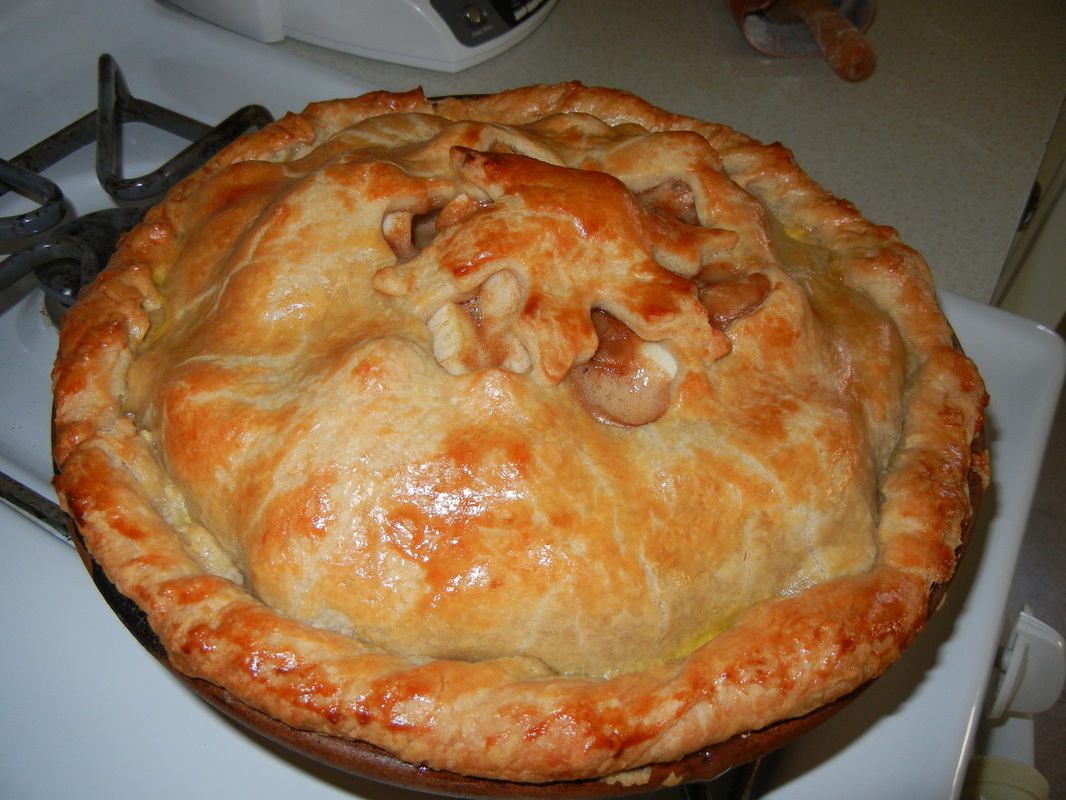
Bake the pie at 425F for 15 min, then 350 for 35-45 minutes, until golden brown and bubbling. If your crust begins to darken before the time is up, wrap or cover the pie in foil and continue to bake, so the crust does not burn.
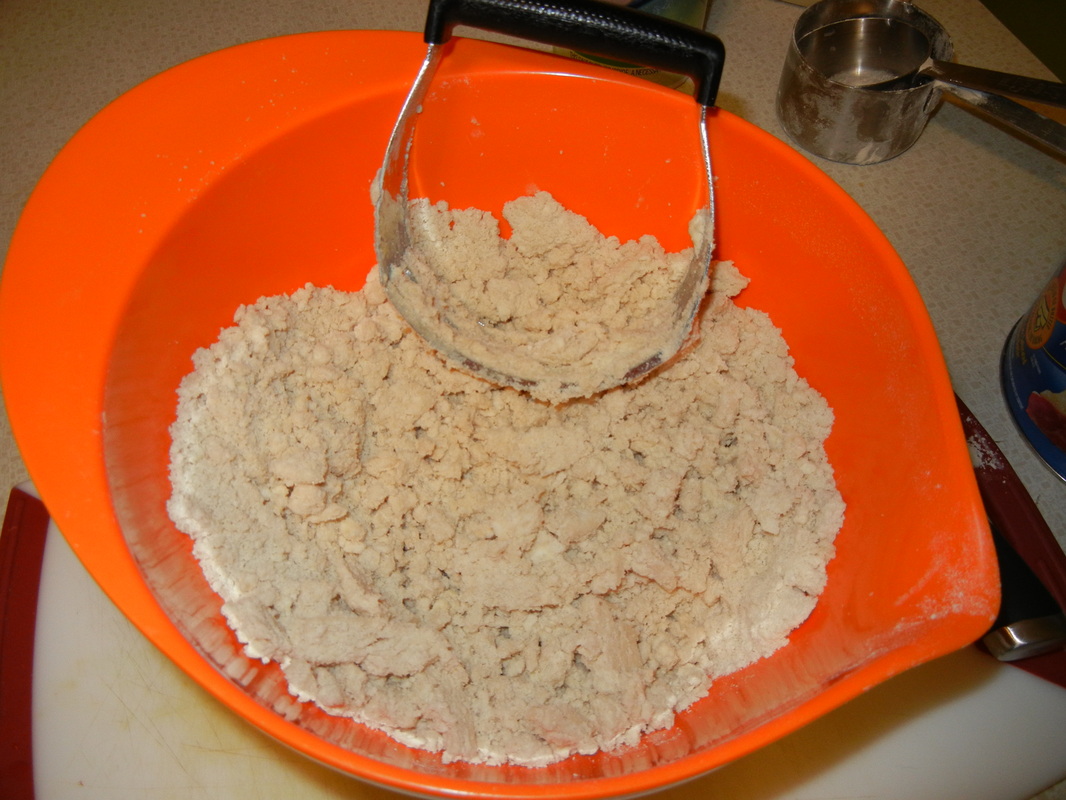
By Rachel Ok, ok, so I should have posted this BEFORE Thanksgiving, but I got caught up in the busy-ness of the holiday and didn't get around to it. The good news is that this pie crust is AWESOME and you can make it for any pie (Christmas is coming, tra la, tra la!). Please keep in mind I am a terrible photographer and the pictures really don't do the deliciousness justice. If anyone makes this and take a better picture I will gladly swap it out! You will need (this makes enough for one covered pie like in the picture): 2 1/2 cups flour 1 tsp salt 2 Tbs sugar 3/4 cup unsalted butter, chilled/cold and cut into 1/4 inch cubes 1/2 cup (8 Tbs) all-veggie shortening (such as Crisco) 6-8 Tbs ice water To make the dough: Cut your butter into 1/4 inch cubes and keep in the fridge until you need it. Mix flour, salt and sugar in a food processor (if you don't have a food processor like me, just mix it in a bowl). Scatter the butter cubes over the flour mixture and toss to coat each cube of butter with flour. If you are using a food processor, do about 5 1-second pulses to cut butter into the flour. If you are not using a food processor, use a pastry cutter or fork to break apart the butter pieces into the flour. Now begin to add the shortening, 1 Tbs at a time, cutting into the flour mixture just like you did with the butter. After all the shortening is added, you should have a crumbly mixture with lumps no bigger than a pea.
Fill a measuring cup or glass with ice and water. If you are using a food processor, take your dough out and put it into a mixing bowl. Add 6 Tbs of the ice water to the dough. Using a rubber spatula, press down on the dough, using a folding motion, until the water makes the dough stick together. Use up to 2 more Tbs of ice water if your dough is not sticking together.
Separate the dough into two equal pieces, sprinkle with flour and wrap in seran/plastic wrap. Refrigerate the dough for at least 2 hours before rolling out. I like to make my dough the day before I make the actual pie so it's really cold and easy to work with. After your dough is chilled - use the Apple Pie recipe to make your pie and ENJOY!!
By Miranda I have half of a cow in my freezer, (literally- well it IS butchered) but I've been slowly chipping away at it and one of my favorite meals so far is this beef stew. I guess it's kinda like a stroganoff, but whatever it is, it's real good. Yes, it does take a while to cook, but if you plan ahead, it can be a delicious end to your day.
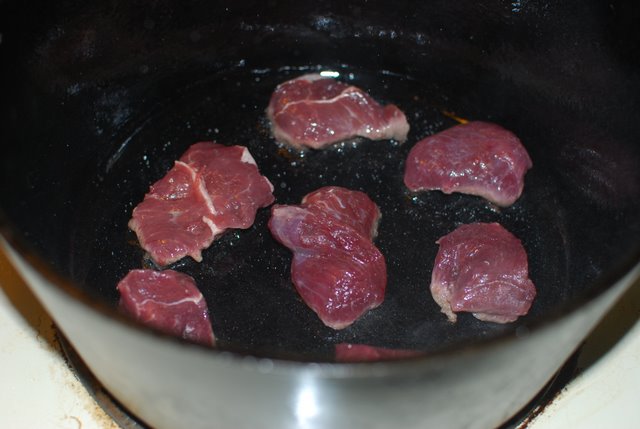
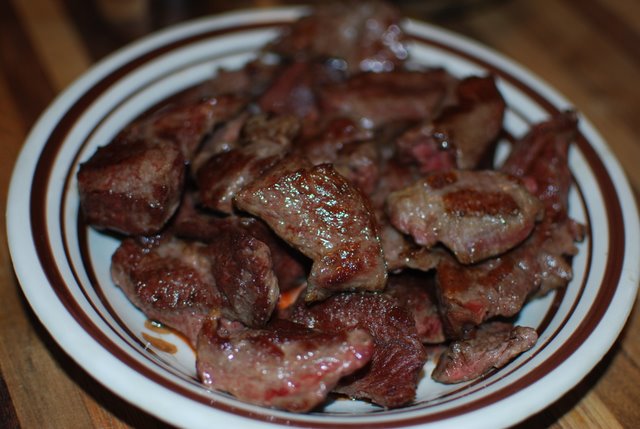
4 servings 1.5 lbs stew beef 1 Tbs oil 1 med-lg onion chopped 2 celery stalks, chopped 3 garlic cloves minced 1 cup red wine 2-3 cups stock 3 carrots, chopped (1 inch chunks) 8 oz. mushrooms s+p 2 Tbs butter 2-3 Tbs flour (depending on how thick you prefer the broth) 1 Tbs fresh thyme or 1.5 tsp dried Serve over pasta or mashed potatoes (look at my pasta recipe if interested in making it from scratch) Heat oil in large oven-safe heavy bottom pot over medium high heat. I use my cast iron stock pot. (If you dont have something like this you can transfer it into a crock pot and cook on low). Brown the stew beef pieces in small batches so you don't crowd the pan, so they are nicely browned on all sides (dont move them or stir them- just let them brown then turn them over). Transfer the cooked pieces to a bowl until all pieces are done. This might take roughly 15 minutes.
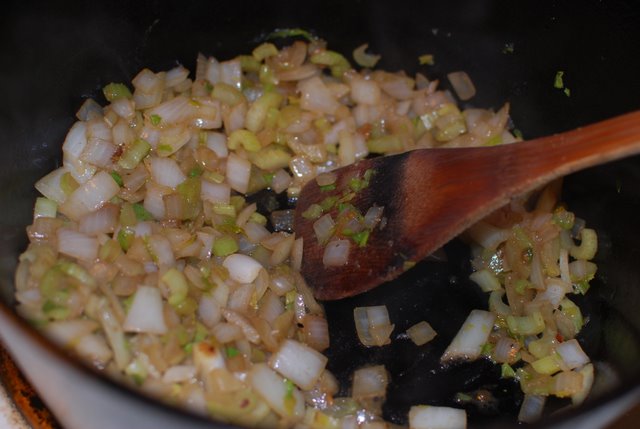
After all meat is browned and in a separate bowl, add onion and celery to the pot and turn heat down to medium (if your stew beef is very lean, you may need to add another Tbsp oil prior to adding onion/celery). Cook onion and celery until softened and starting to brown, then add garlic and cook for additional minute or so.
Add red wine to this and stir to de-glaze the pot. Then add the beef back into pot along with stock (I used chicken stock because this was all I had, but I figure you should use beef stock :) - water would probably do fine as well, but it will not be as flavorful). Next, add the thyme and bring to a simmer.
Cover the pot and place in the oven at 225 degrees for about 5 hours. Again, if you do not have an oven-safe pot you can put this in a crock pot on low for the same amount of time. This gets the beef super tender and delicious!
After 5 hours, add in the carrots and mushrooms (really any combination of vegetables would work- butternut squash or green beans would be good too) and continue to cook for 1 hour, covered.
10 minutes prior to eating, melt the butter in the microwave and whisk in the flour until smooth. Stir this into your stew to thicken, and season with salt and pepper. Put it back into the oven to cook for the remaining 10 minutes. Serve stew over noodles or mashed potatoes. Yum!
|